

Upcoming classes, comforting meals, and quirky food holidays—here’s what’s cooking at Art of Cookery this season!
As the air turns crisp and cozy cravings kick in, Art of Cookery is serving up a delicious lineup of culinary classes and Grab n Go fare to warm your heart and your belly. Whether you’re looking to master sauces, herbs, or pasta—or just want to grab a comforting meal on the go—we’ve got something special for you.
Upcoming Classes
Join us in the kitchen for hands-on learning, laughter, and flavor-packed fun:
- Five Mother Sauces – Nov 18 @ 5 pm: Learn the foundational sauces that elevate any dish.
- Pierogi Paradise – Nov 24 @ 1 pm: Dive into cheesy pockets of yum.
- Cooking with Herbs – Dec 2 @ 12 noon: Discover how herbs transform everyday meals.
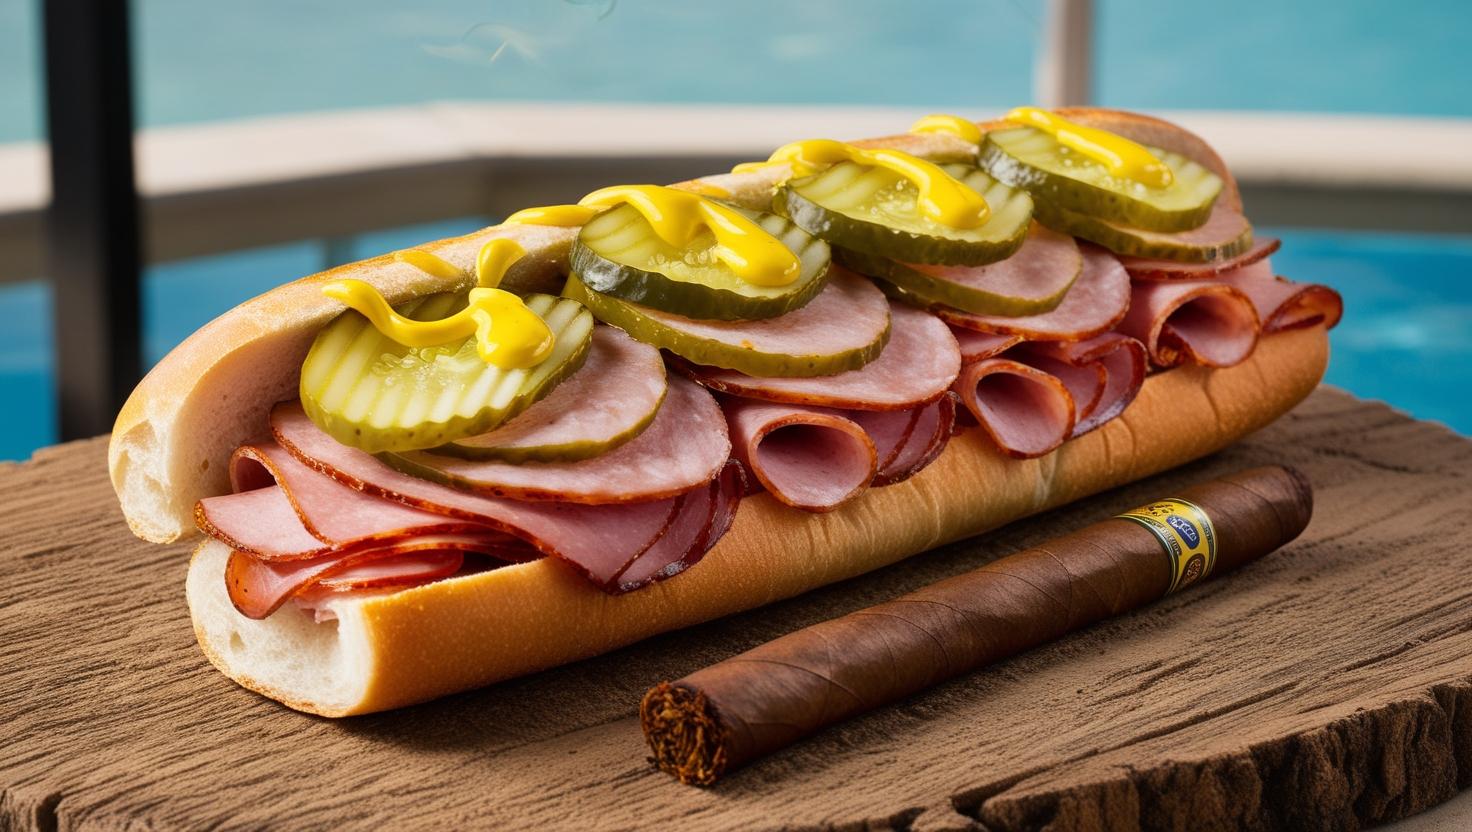
- How to Create a Charcuterie Board – Dec 6 @ 5 pm: Craft a spread that’s as beautiful as it is delicious.
- Art of Pasta – Dec 9 @ 5 pm: Roll, shape, and simmer your way to pasta perfection.
- Convection Oven Cooking – Dec 11 @ 1 pm: Learn how to make the most of this versatile appliance whether you are using an air fryer or a full sized convection oven…or something in between.
Want to see the full schedule? Go to our webpage, scroll down and click the red Calendar of Classes button.
Grab N Go for November 17 - 23
Swing by for comforting classics, ready when you are (Don’t want to take your chances? Order ahead with pick-up date and time to ensure you get what you want):
- Turkey Dinner Meal: Roasted turkey, mashed potatoes, gravy, stuffing, cranberry sauce, green beans, and bread—Thanksgiving in a box!
- Shaved Pork Sammies: Tender pork shoulder with brioche buns, horseradish sauce and au jus, perfect for dipping and devouring.
- Soup of the Week: A hearty stew to warm you from the inside out.
The above meals don’t interest you? Want pasta, minestrone, or meatloaf instead (for example)? Tell Chef Valerie what you want. Someone has ordered some low carb meals for next week, maybe that’s your cup of tea? Request a meal or two for yourself. Give some notice though…special requests can’t happen the same day.
Wonder what is in Grab n Go at any given time? Text Chef Valerie at 231-740-4065 and ask.
Heads up! There will be no Grab n Go service the week of Thanksgiving (Nov 25–29), so stock up early or join us for a class instead!
Quirky Food Holidays
Beyond Thanksgiving, November offer some upcoming delightfully oddball food holidays to inspire your plate:
- Nov 18 – National Apple Cider Day: Sip something spiced while you stir your sauces.
- Nov 21 – National Stuffing Day: A perfect excuse to indulge before the big feast.
- Dec 4 – National Cookie Day: Bake, share, and savor the sweet side of the season.
- Dec 11 – National Noodle Ring Day: A retro nod to pasta creativity—just in time for our Art of Pasta class! (can I say eewwwww?)
Share this:
- Share on X (Opens in new window) X
- Share on Facebook (Opens in new window) Facebook
- Share on Reddit (Opens in new window) Reddit
- Share on Pinterest (Opens in new window) Pinterest
- Email a link to a friend (Opens in new window) Email
- Share on Tumblr (Opens in new window) Tumblr
- Share on LinkedIn (Opens in new window) LinkedIn
- Print (Opens in new window) Print


 First celebrated by Burns’ own friends and family as a memorial to the writer, it has since become an annual celebration in Scotland – and is now popular with nations across the world.
  the ways to use a Dutch oven. If you are only going to have one pan, that is what you should have. We made bread, fried chicken, slow roasted pork, and baked a big cookie.
 This is a group of volunteers who formed a 501C3 to bring residents out of their homes to enjoy all of the great activities this area has to be proud of.